
In our Research Centre, one of the happy smiling, growing plants is the mint. Today we will share with you the easiest way of growing a delicious, rewarding, humble kitchen ingredient - Mint.
Mint, as we know, is a cool and refreshing herb for a kitchen garden. It can be grown effortlessly in soil and soilless media. It is an aromatic herb of temperate region. The primary aroma of mint is of ‘Menthol,’ which has cooling and gastro-stimulant properties. Mint is widely used in food flavoring, confectioneries, cosmetics, preparations, beverages, and pharmaceuticals due to its above-said properties.
Mint Varieties: We have different types of mints, Japanese mint ( Mentha arvensis var. piperascens), spearmint ( Mentha spicata), peppermint ( Mentha piperata) and bergamot/lemon mint ( Mentha citrata).
How to grow Mint

Our experience with growing Mint
Our mint journey started with seed sowing around April 2018. As far as possible, we try to start from the seed stage to be better able to understand the dynamics of plant growth. We sowed them in coco peat and clay pellet mixture.
It took around 15-20 days for the seeds to germination. They were growing well in coco peat. While raising them in cocopeat, we ensured that the plants were provided with sufficient (no overdose) nutrients. We used our Greens range of Nutrient for Mint. We also provided plain water so that there is no accumulation of salts in the cocopeat bed. Since we also wanted to try growing them in the DWC system, we transplanted almost month-old plants to the DWC system.
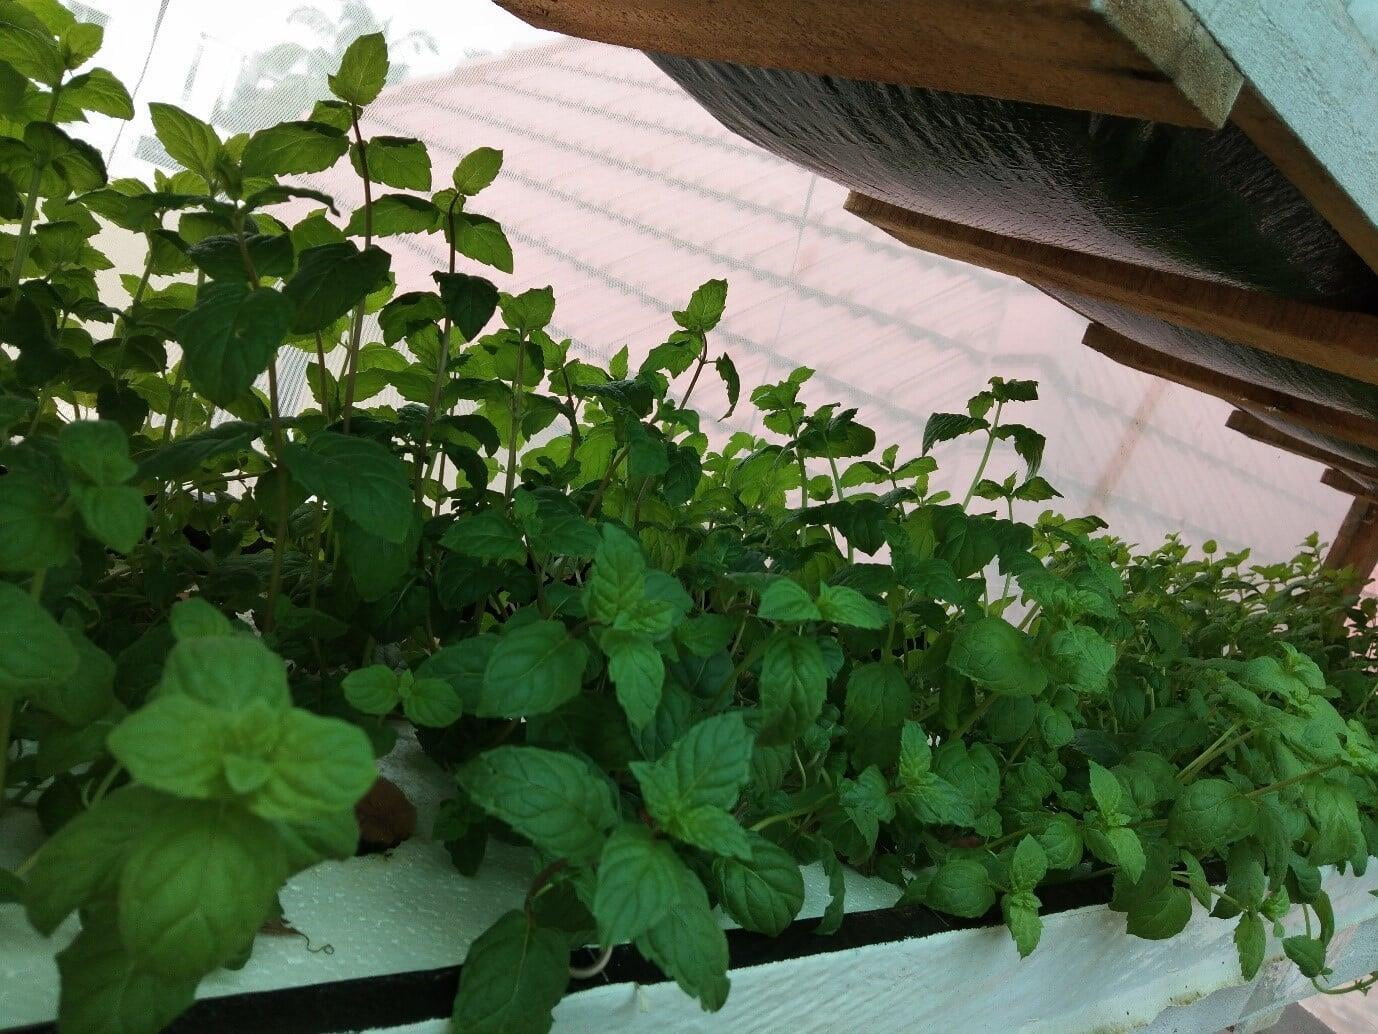
In DWC, we used both, CG NPK and CG Greens solution. From cocopeat to DWC, the plants adapted easily and did not show any signs of transplant shock. Instead, they seemed to be happy in their new environment. We ensured efficient oxygenation to the plants. We did not feel the need to do any external foliar spray.
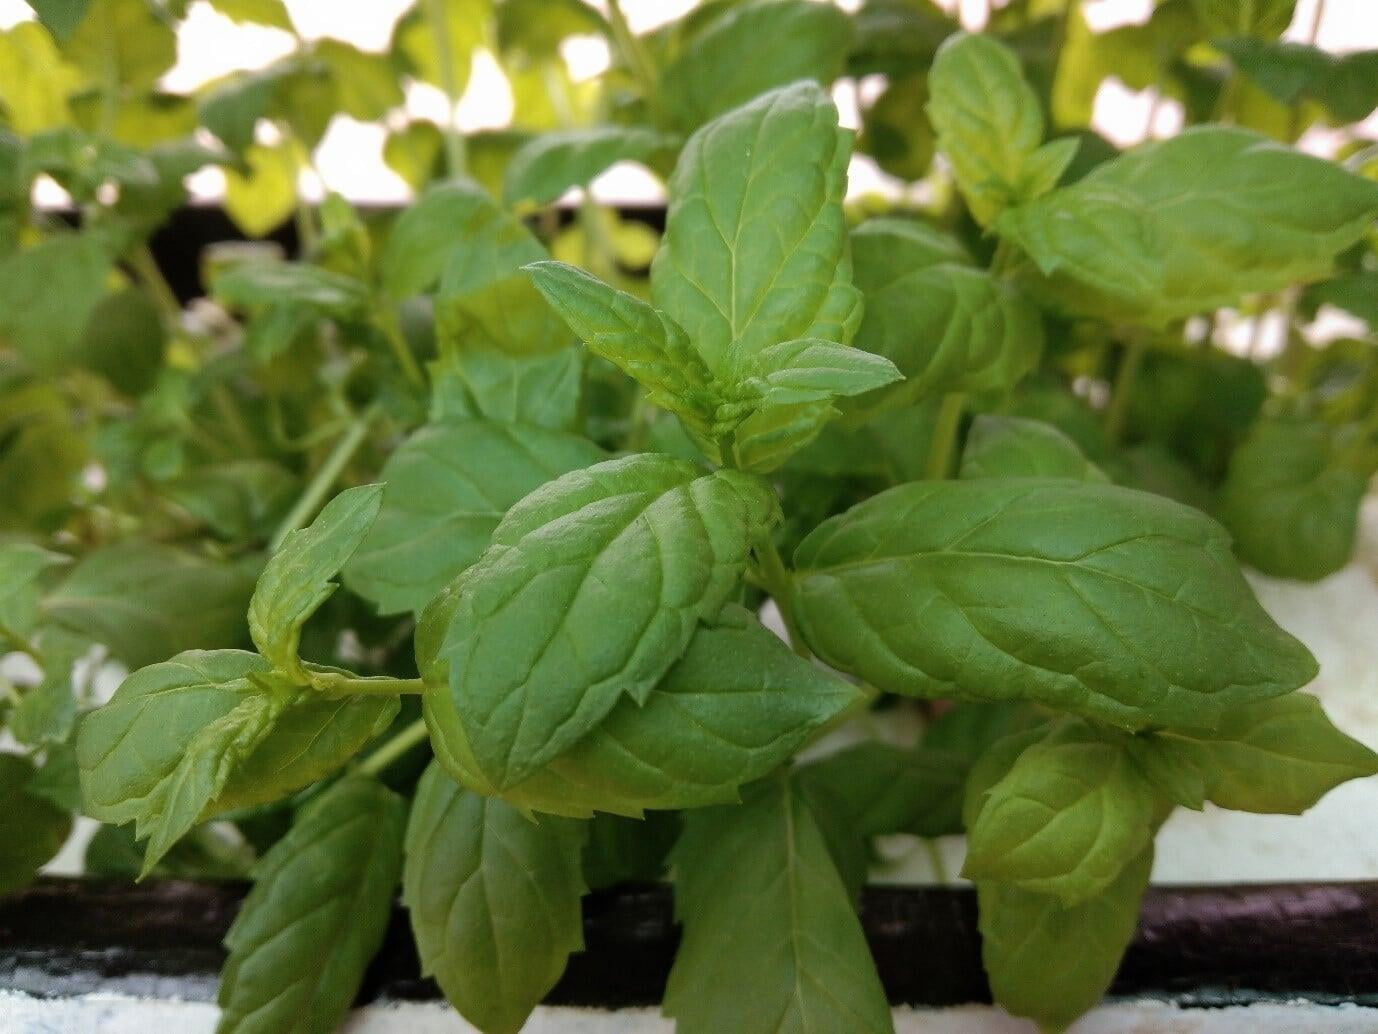
Mint is generally ready for harvesting once plants reach a 10-15 cm height. You can harvest only leaves or stems or cut the stem leaving about 1 inch at the base.
As on date, the mint in our DWC system looks all ready to be harvested. And we are happy to share that those living around our vicinity will be able to taste this delicious and humble ingredient from the farm to the fork.
With mint, there wasn’t any pest and disease in our research center. But the probable pests that can impact mint are aphids, thrips, mites, and cutworms. Also, look out for fungal rust and wilt diseases, if the plants are overwatered (in soil), and densely grown. Remove the infected plants at an early stage to avoid the spread of the disease and ensure safe control methods.
We are getting new stolons from the plants in our DWC system. These we will use to transplant for the next cycle of the crop after harvesting. Can’t get more natural than this.
Happy Gardening!