
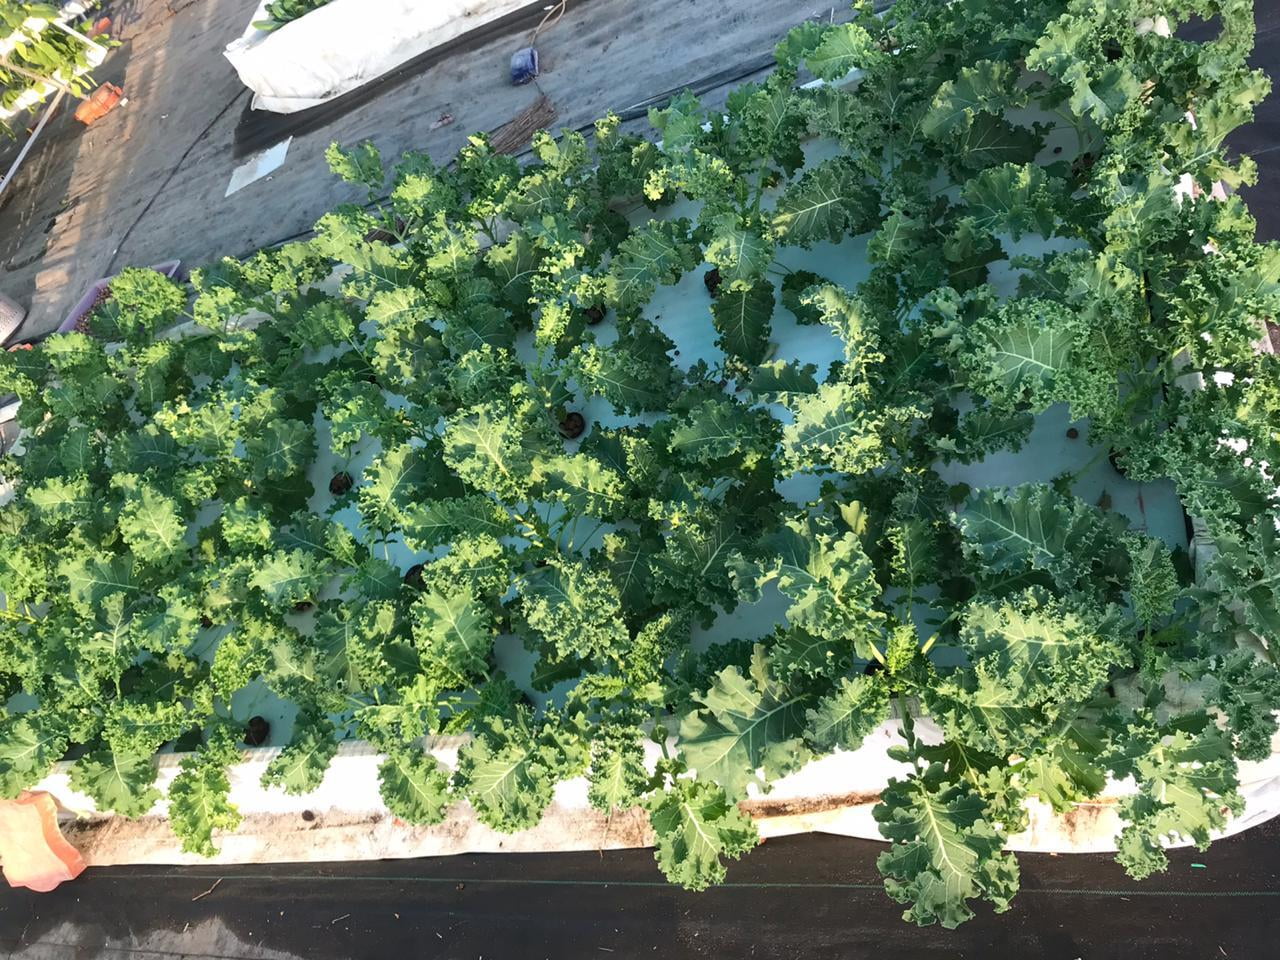
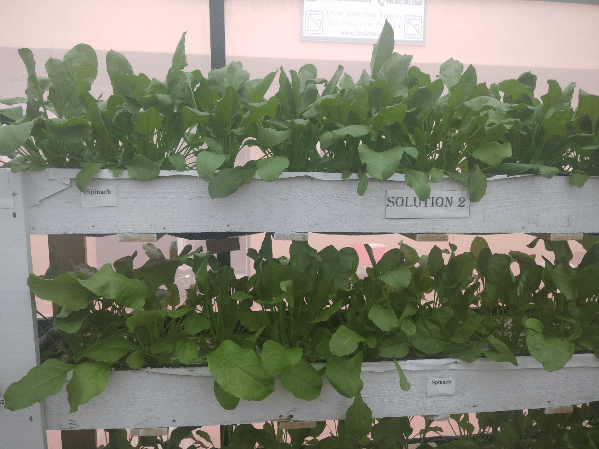
Kale growing in DWC bed in CityGreens Research Farm in Ahmedabad
Components of Deep Water Culture (DWC) System
Grow Bed
To set up this system in your kitchen garden, all you need is a tub or tray-like container which can hold the nutrient solution. You can go for any household items like unused tubs, buckets, etc. In CityGreen's Urban Gardening Research Center, we created customized multi-layered, eco-friendly, wooden grow racks.
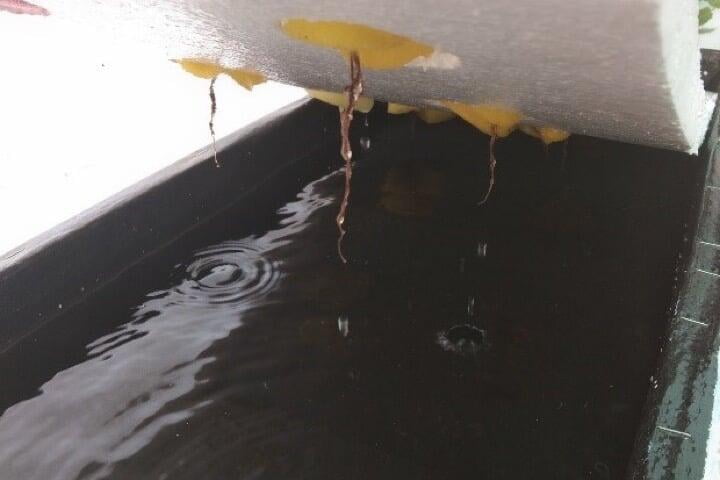
Lid or Cover
You can use the standard lid of container or paint bucket or the tub you are using. In our set-up, since we started ground up, we used Styrofoam sheets.
Nutrients
Since the grow medium here is water, it becomes essential to provide plant nutrition externally. We rely on our in-house range of nutrients for the same. We use all of these in our Research Center. Still, my personal favorite is CG Symphony Combo Pack, as it gives me enough freedom to control the plant's nutritional plan according to its lifecycle needs.
Air Pump
Along with water and nutrients, the plant's roots need oxygen as well. Thus an air pump is required to Oxygenate water. A typical aquarium pump can do the job pretty well. You can also skip this and manually oxygenate the water by giving it a gentle shake (or stir or bubbling air through it using a straw) every day.
Steps to setup a Hydroponic DWC System
In the following section, we will elaborate on how you can go about setting up our first Hydroponic DWC system. You can follow similar lines to set up your system.
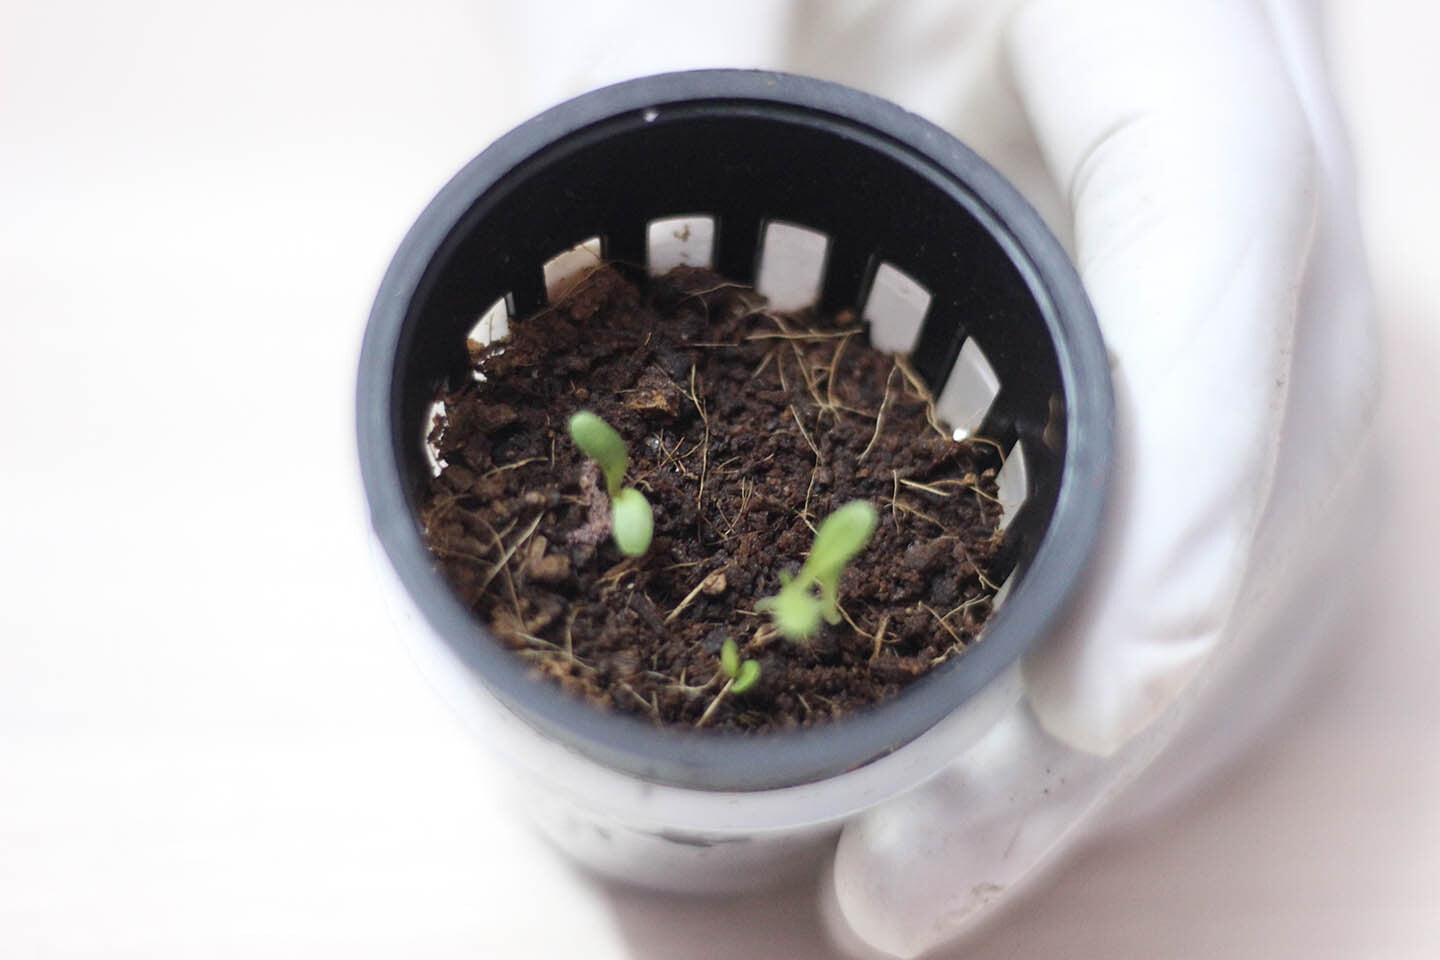
Step 1 - Seed Germination
Germinate the seeds. You can go with germinating in standard seed germination trays or net-pots. The advantage of using net-pots is that you will not need to transplant the sapling (and hence minimize the chances of damaging roots or transplant shock) while shifting it to the grow bed.
The image shows seeds germinated in net-pots using CityGreen's Seed Starter Kit.
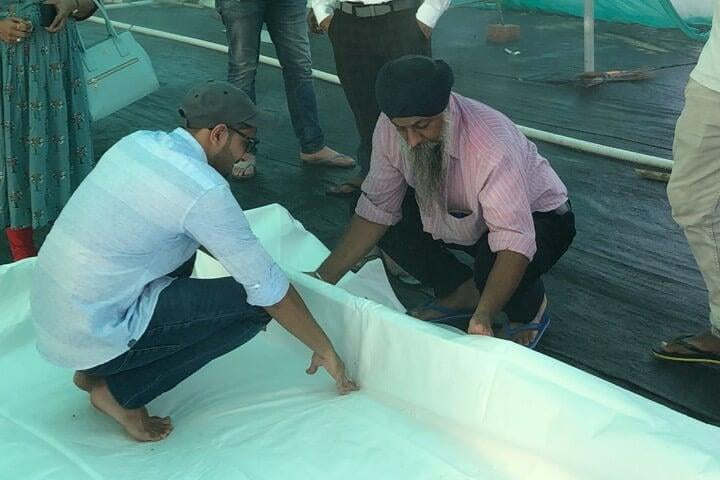
Step 2 - Preparation of Grow Bed
The image shows trainees of CityGreens Commercial Training program learning to make a DWC grow bed.
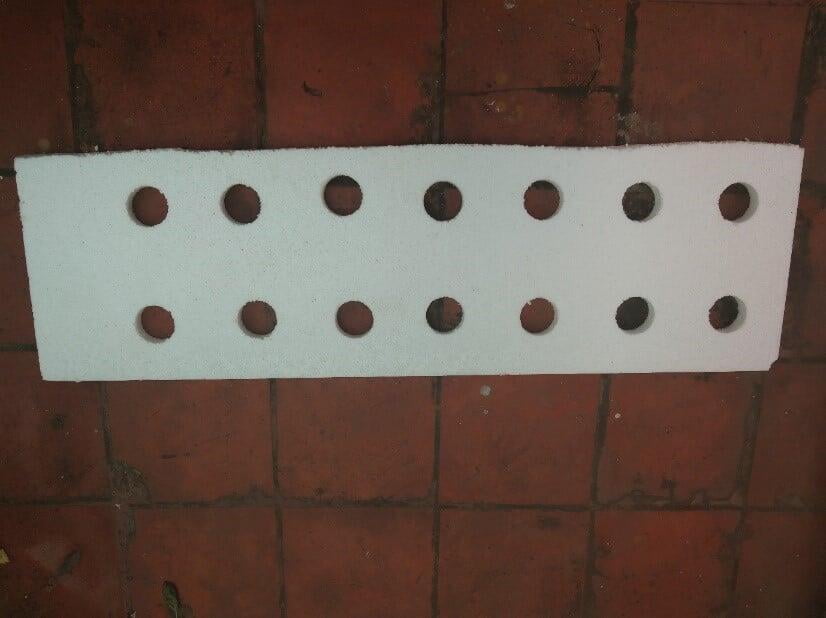
Step 3 - Preparation of Lid
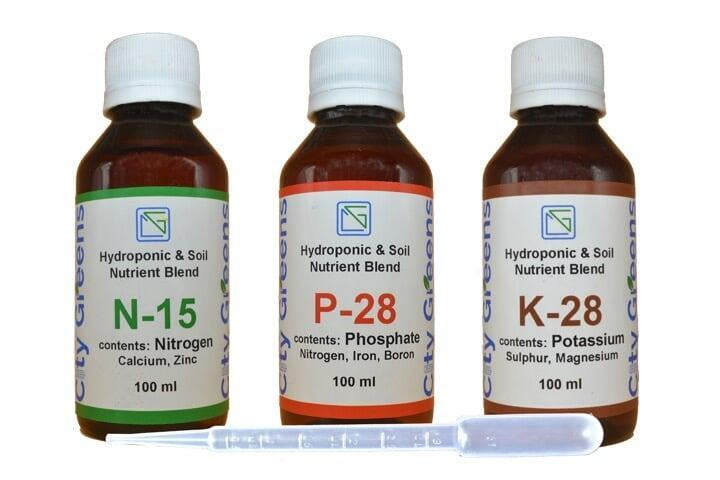
Step 4 - Preparation of Nutrient Solution
The image shows the original NPK solution from the house of CityGreens. Since then it has undergone iterative improvements based upon customer feedback and our own research. You can get the current batch here.
Step 5 - Readying the DWC System
Step 6 - Transplant & enjoy watching your plants grow
Regular maintenance and upkeep of DWC System
Once the system is up and running, it will require little maintenance.
Following are the few things you will need to look for periodically:-
- Managing pH Level - plant roots can absorb nutrients only if the pH of nutrient solution is in a specific range (between 5.5 to 7.0 for the majority of plants, depending upon plant variety and species). You can use a simple pH meter or chemistry lab pH strips to measure the pH.
- Topping up the nutrient solution - as plants will absorb nutrients from the solution, the level of various nutrients available will keep going down. So a periodic (weekly or bi-monthly) top-up of the nutrient solution may be required.
- Oxygenating of nutrient solution - as pointed out earlier in this post, periodic oxygenation of nutrient solution will be required for good growth.
- Look out for pests - Last but not the least, do look out for pests or any distress symbols in your plants.